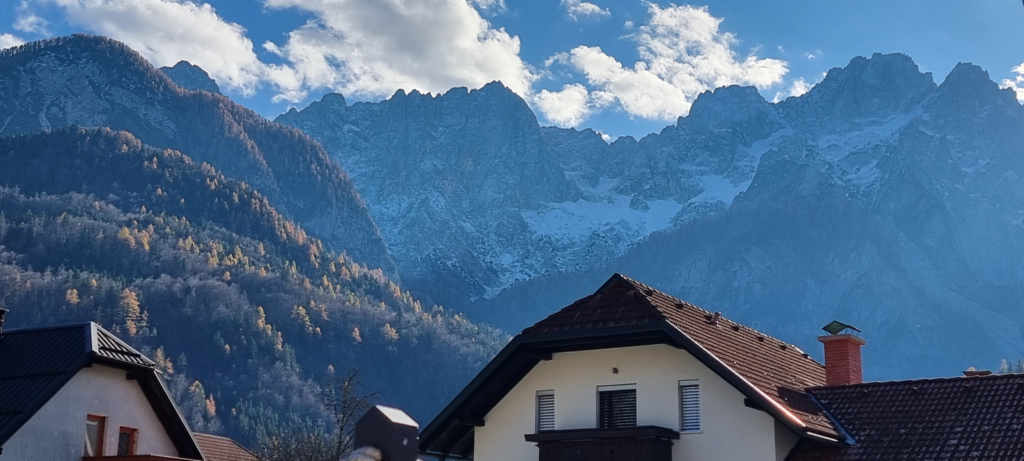
Slovenia is one of those mountainous countries I have always been attracted to due to its rugged limestone mountain range, the Julian Alps, which it shares with neighbouring country Italy. The highest mountain being Triglav at 2864 metres lying within Triglav National Park. It is also known for its crystal-clear lakes, beautiful alpine meadows and is popular for its outdoor activities.
I had never got around to planning a visit, so, one evening at the back end of summer, Dave (fellow rescue team member) and I sat around my kitchen table and drafted a rough plan to take on the mighty Triglav in the Julian Alps and sample the climbing on offer, agreeing it should make a nice change from Tryfan..
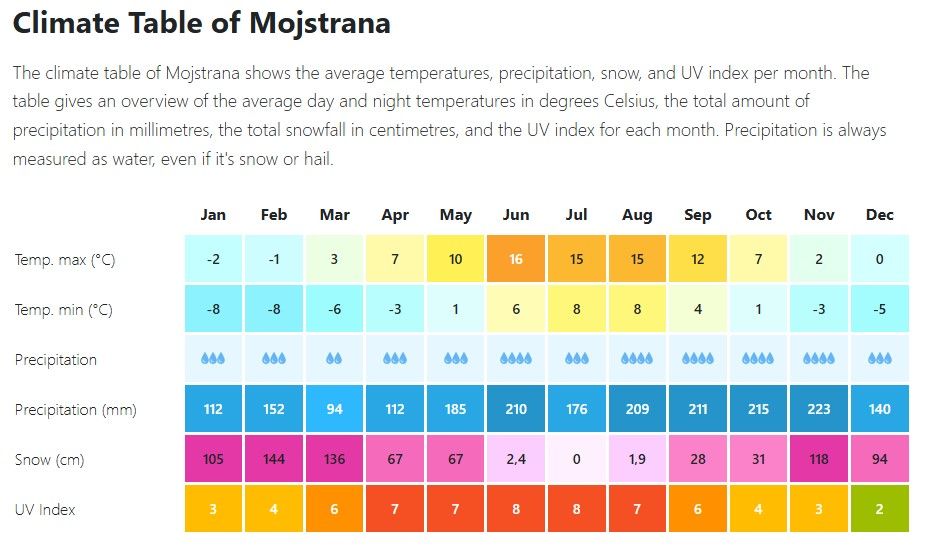
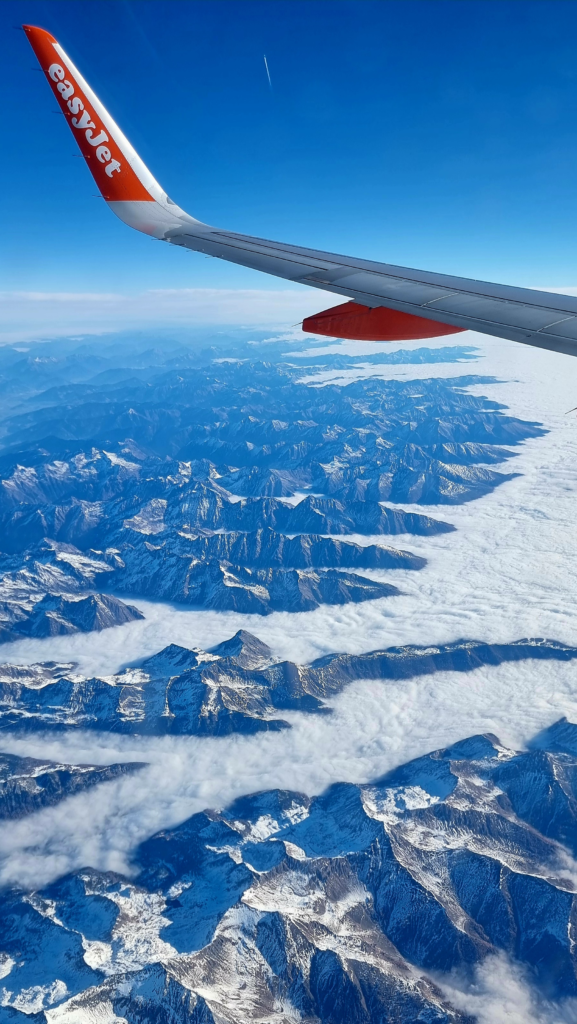
Initial research suggested that during the warmer, summer months it gets extremely busy, with lots of visitors to the region and many ascents due to guided tours and treks making use of the high mountain huts. Our idea was to visit outside of the summer season and attempt an early winter ascent, putting our winter skills to the test and hopefully finding things less hectic. We would also tackle some of the local via ferrata routes to see what was on offer and depending on the temperature and warmth from the sun, check out the local climbing crags. Fortunately for us, Easy Jet must have got wind of our plans as they were about to start offering flights to Ljubjiana, Slovenia’s capital from the first week of November, which was perfect. Even though the stats show November as one of the wettest months, we were hoping for a snowy adventure.
Are we there yet?
Fast forward a couple of months and we’re looking out of the window of our easy jet flight as we descend into Slovenia, looking down onto the stunning snow-capped peaks of the Julian Alps.
On arrival, we need to sort a hire car out as leading up to the trip has been a bit hectic and we’ve not sorted one yet. Once cleared through luggage, we head to the numerous car hire places across the road from the airport and see if we can get a deal. The prices we are greeted with are way too expensive “computer says no” for our budget, so we revert to securing a deal online via the airline over a coffee in the airport café while we wait. An hour or so later We walk back into the same car rental place within and speak to the same person who now gives us a massive discount for having an online booking. Feeling smug, we set off for our hostel in the village of Mojstrana, in the municipality of Kranjska Gora, our base for the trip which is approximately eighty kilometres northwest of Ljubljana. We stop off enroute at Bled to take in the tourist features such as its glacial lake, the eleventh century medieval castle and the most popular attraction with photographers; the church on the island. We arrive just before dark at our hostel, it’s noticeably chilly, around 3 degrees, we are in a shaded valley, and the sun has just tucked behind the nearby jagged peaks. We’re greeted by fellow travellers from across the globe, none of whom have heard of our home country, back in Wales, until we mention rugby and dragons.
The following morning, we need to source some gas for our Jet Boil stove before we can consider heading for Triglav. We already tried a few places on the way in yesterday but no luck. All had the wrong attachment, we’re hoping it’s third time lucky this morning, just when we’re thinking we made the wrong choice of stove for the trip, we are directed to a fairly local * electrical wholesalers that stocks it, phew! It would be a miserable night on the mountain without a hot meal or brew at minus nine degrees, according to the current weather forecast.
Up above the streets and houses
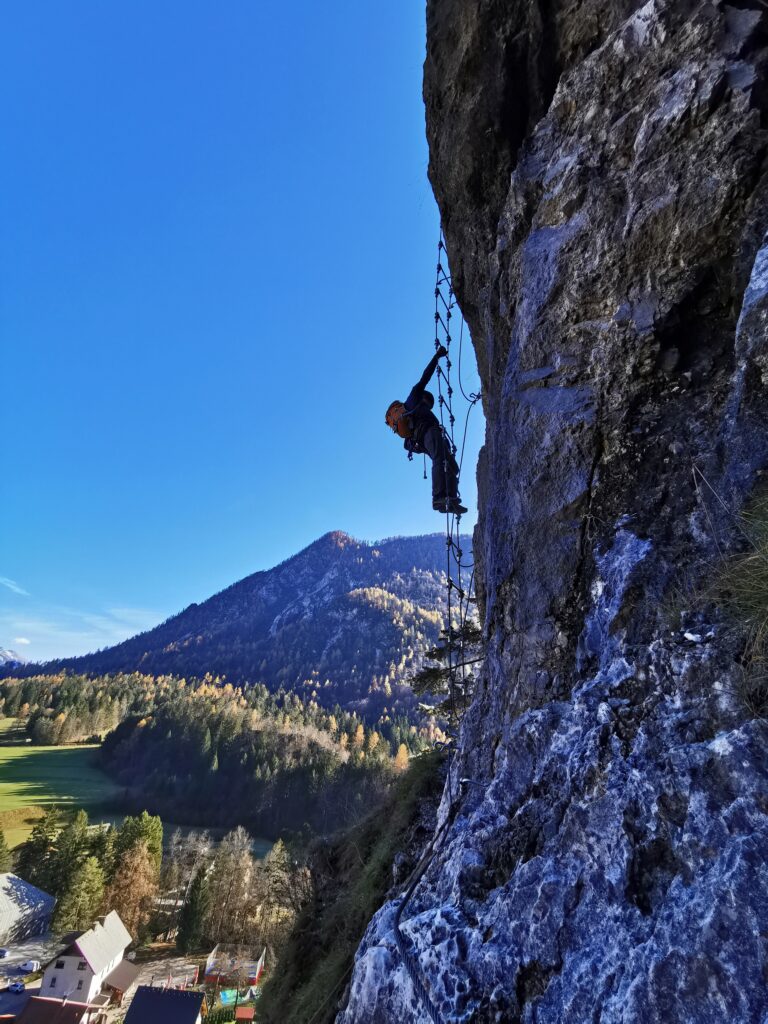
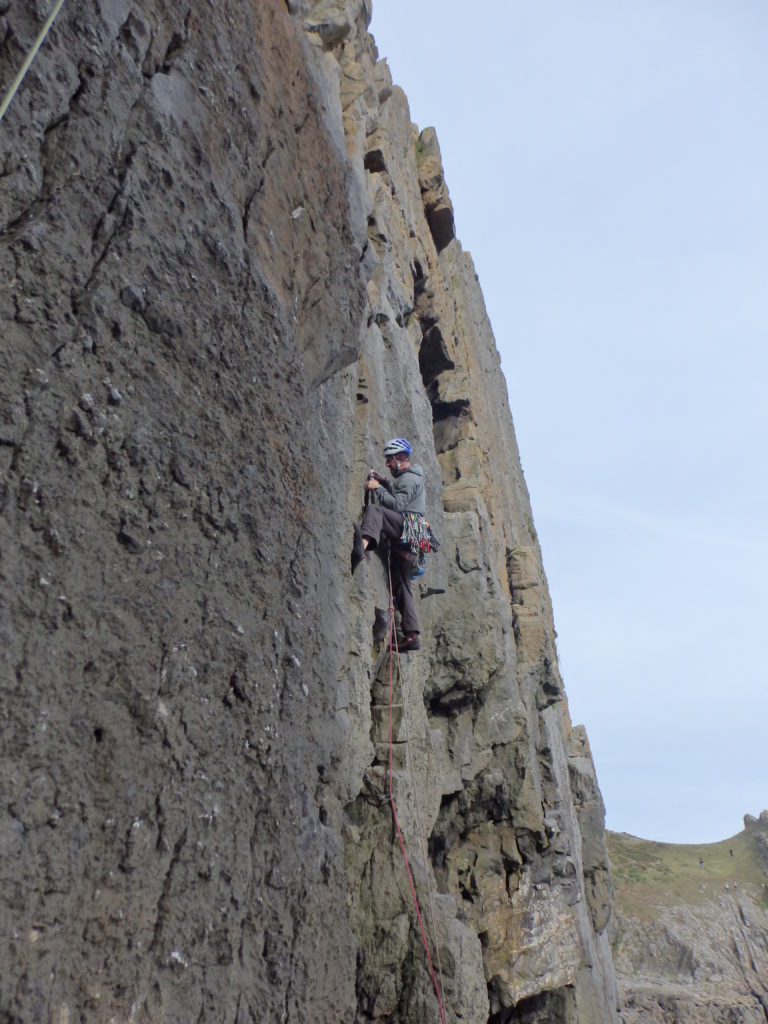
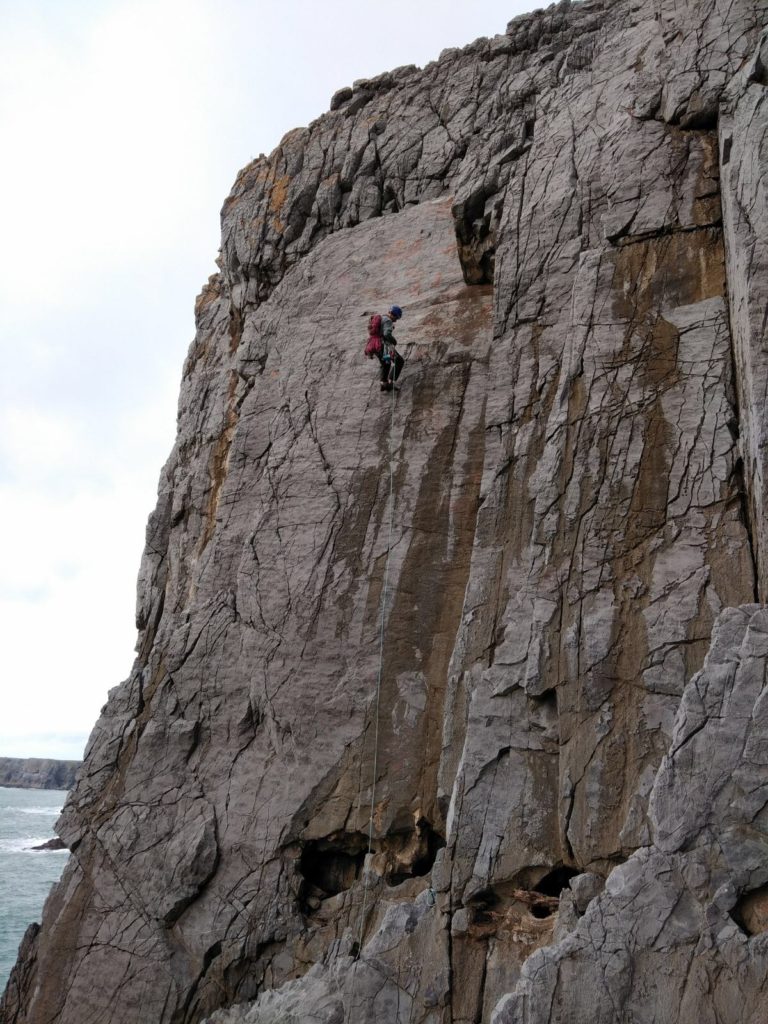
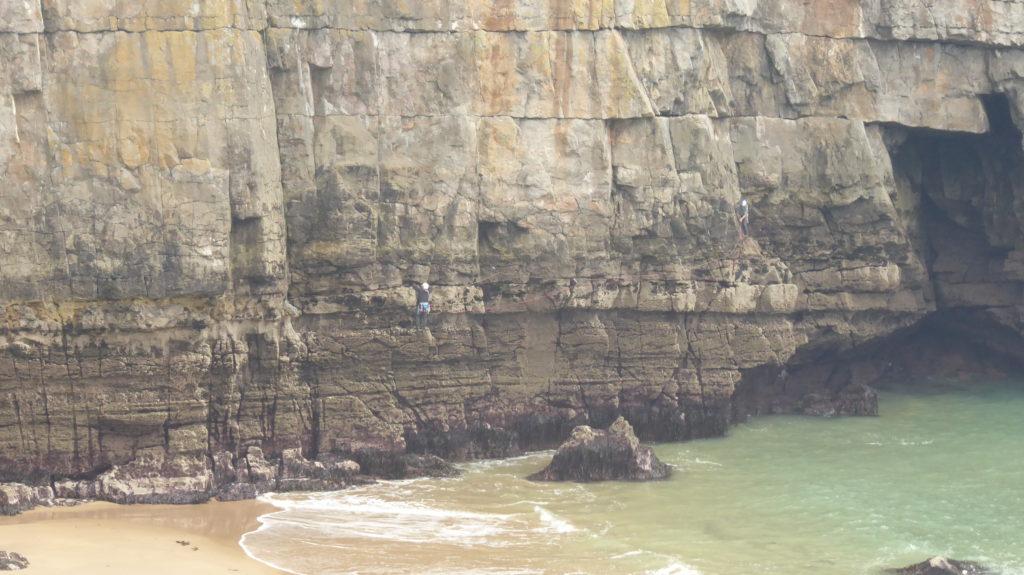
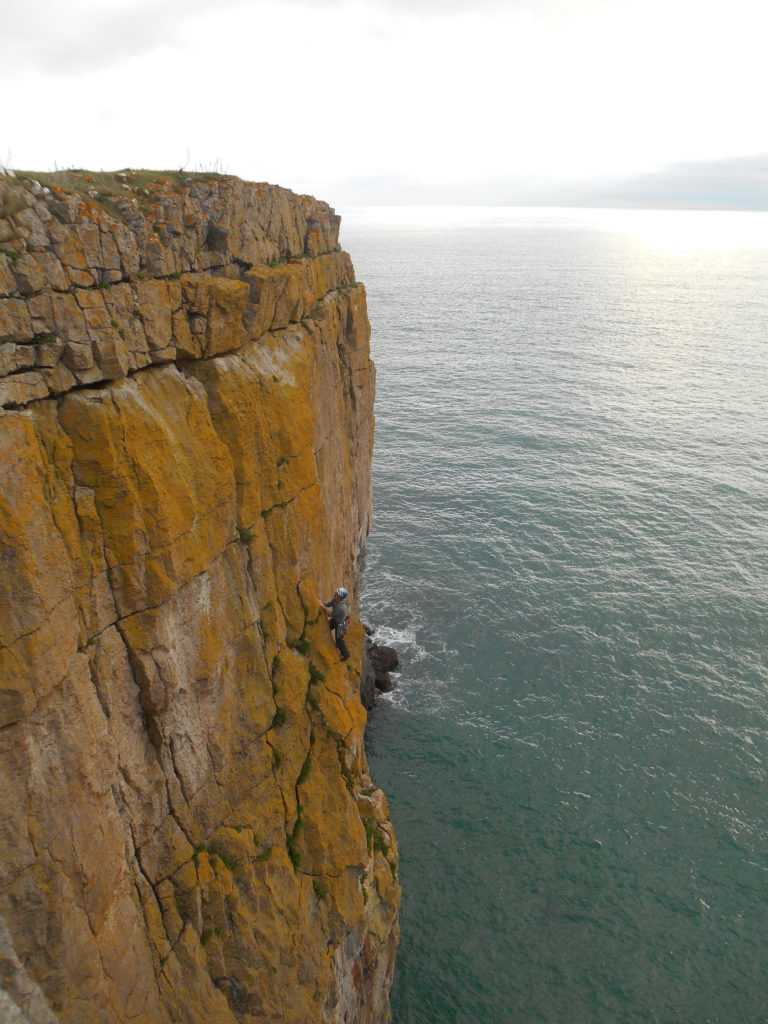
During the afternoon we decide to tackle a local via ferrata which is a stone’s throw from our accommodation on a crag overlooking the village and still in sunlight. There are two routes at Ferrata Mojstrana both start approximately one hundred metres from the entrance to the Slovenian Alpine Museum. The first via ferrata, called Aljazeva Pot, is easier and rated at **B difficulty. It is 180 m high, 250 m long and also suitable for novices*** The second route, called Pot Mojstranskih Veveric, the route of Mojstrana squirrels is graded C / D and offers a bit more of a challenge, we opt for this. It is also 180 metres high, 250 metres long and suitable if you have a bit of experience in via ferrata or climbing due to its steepness, exposure and technical difficulty. Both via ferratas lead to a replica of the Aljaž Tower, where there is also an entry book where you can log your ascent while you enjoy the view of the Julian alps and Karavanke ridge. The descent follows a rough path through the forest and exits close to the starting point. The steep ladder section is the highlight of the route along with a further exposed section onto a slab which is great fun also and gets the adrenaline pumping, oh yeh, take care not to dislodge any loose rocks into the neighbouring gardens below.
A perfect weather window
The following morning, it’s frosty, with a clear blue sky, we are very fortunate to have stable, high pressure in charge of the weather pattern for the next few days. We head out early to recce the start point of the Prag route up to Triglav in the daylight. Due to being winter conditions, we decide to head up the Vrata valley and find Aljazev dom, a mountain hut which is now closed for winter, but has nearby parking where we can leave our vehicle. On our recce we come across a rotten branch on the ground displaying the unusual phenomenon of hair ice fungus. Having never come across it before in the field, only having read about in books, it was a nice find. Tomorrow morning we will head back here before first light to set off on our ascent. On the way back to Mojstrana we stop and head up to Martuljek waterfall, the water cascades down through a steep gorge 30 metres from a second higher waterfall above. It’s a picturesque spot and you can walk behind the waterfall if you need to get that all important photo for the Gram, I recommend taking a waterproof jacket though.
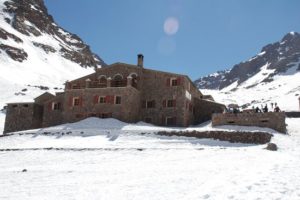
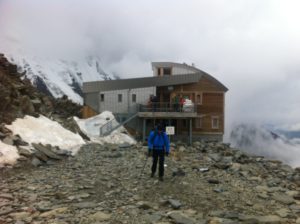
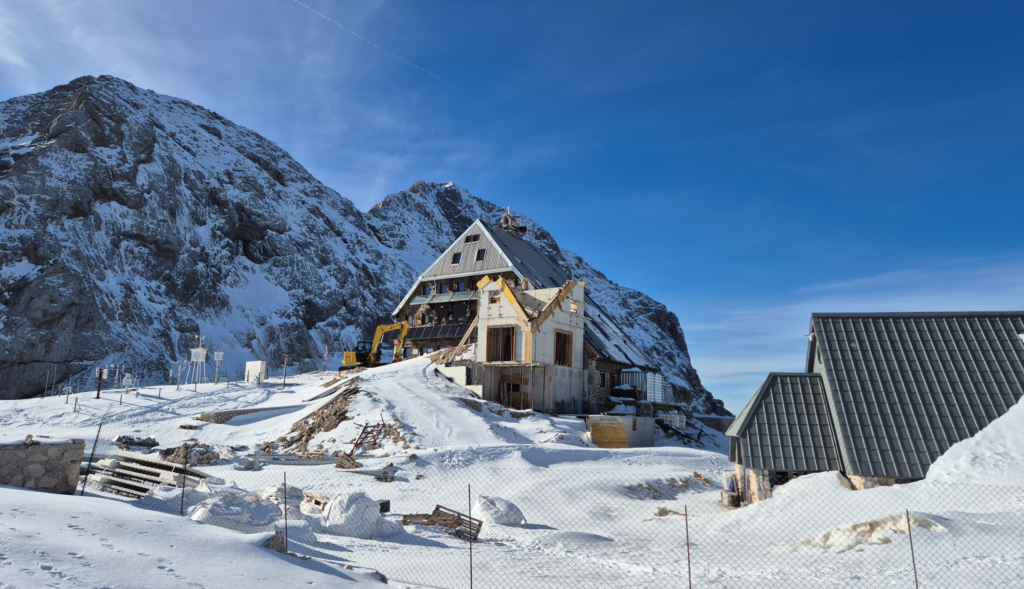
Before travelling here, we contacted the Kredarica Hut to find out if we could stay overnight. It’s located just below the peak of Kredarica 2539m on a ridge between Rjavina and Triglav 2815m. It has a webcam so if like me you are a weather twitcher, you can keep an eye on the snow conditions leading up to your trip. The first hut was built in 1896 thanks to Jakob Aljaž. The accommodation now has 300 beds and is open from mid-June to mid-October. During winter (now) it’s closed for bookings but is maintained by meteorologists, who man the nearby weather station and can provide basic accommodation (bed, sheet, blanket, dorms are unheated, no food is provided). Our plan is to head up tomorrow stay at the hut overnight and summit Triglav the following morning, then descend back to the valley, hopefully we will not be faced with too deep a snowfall to hinder our progress.
Surrounded by mountains
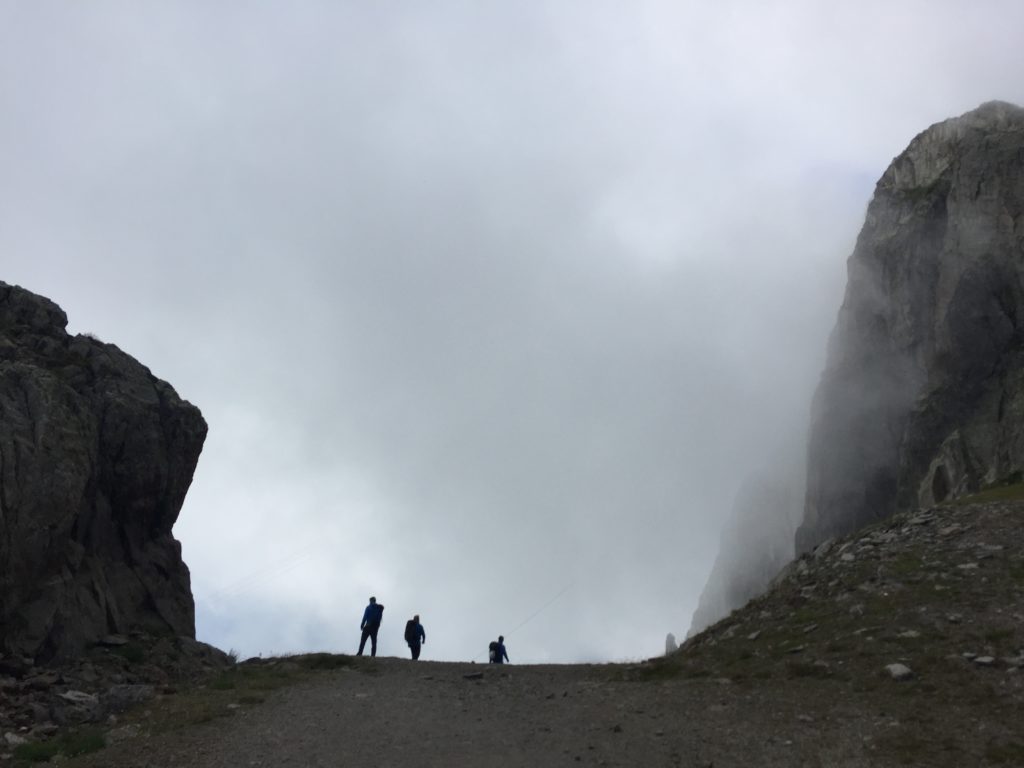
After a leisurely breakfast at our hostel, we pack for the overnighter on the mountain and head out in the afternoon when the sun hits the crags to tackle another via ferrata route at Ferrata Hvadnik, a ten-minute drive up the valley. The route described as a climbing route, 500m in length, graded **B/C through a wild gorge in the Gozd Martuljek, provides the opportunity to explore the geological limestone features of the Hvadnik river. As we start, we are quickly impressed with how the route has been secured to the rock, the crossing points across the river give a real adventurous feel, finally exiting after about two hours via the woods at the top of the gorge into a lovely alpine meadow overlooking the stunning snow-capped peaks of the Martuljek mountain range, a beautiful lunch spot. We finish the day exploring a local village further up the valley in the last of the sunlight before it finally dips behind the jagged peaks of the Martuljek range instantly dropping the temperature, a reminder of how cold it will be up on top.
And we’re off
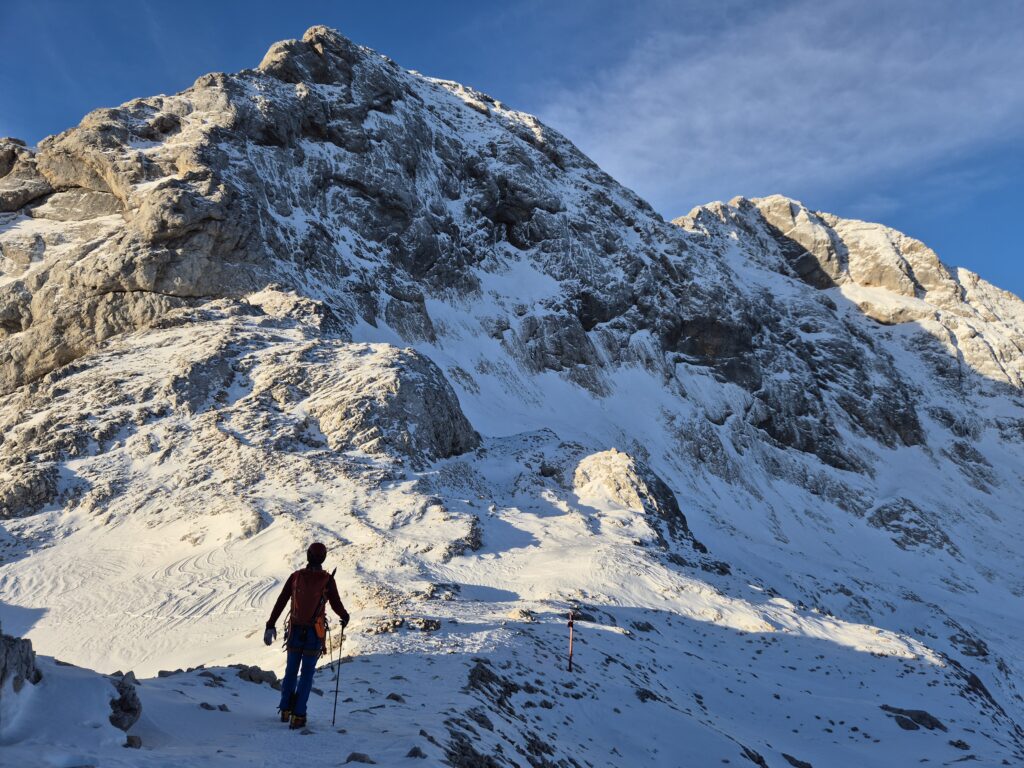
The following morning after our ritual of traditional made stove top, Slovenian coffee (something we learned on the first morning at the hostel) and fresh bread from the local bakery, we scrape the ice from the wind screen, it’s minus two degrees and still dark as we set off towards the Vrata Valley, we are the third vehicle to arrive. The surrounding trees are thick white with frost. We start our ascent through the tree lined gorge, dawn is just breaking, this is the start of the Prag route, we head west weaving our way slowly up an icy single track for a few hours, enough time for the sun to make its warming presence and reveal the steep imposing limestone cliffs on either side of us. Eventually we exit the forest into a flattening, a wooden signpost buried in the snow points us in the direction of the Kredarica hut, nowhere to be seen yet, we continue our steady snow plod.
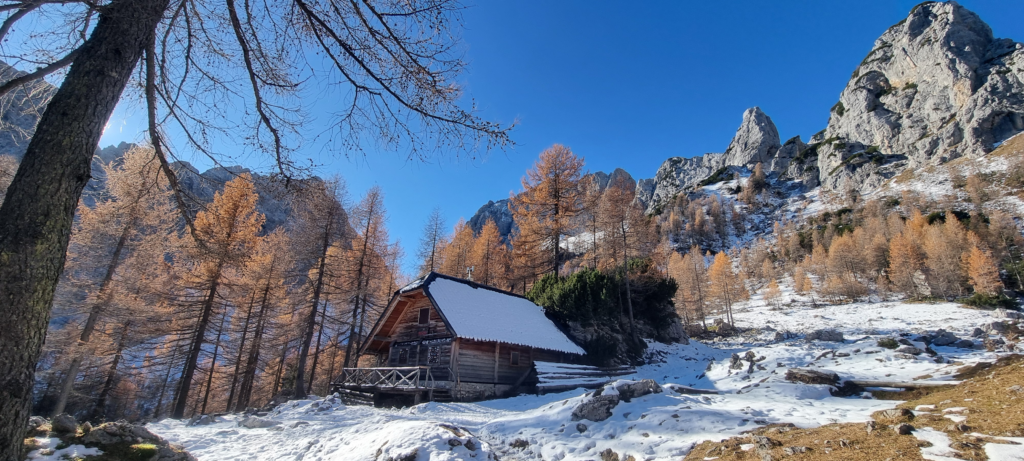
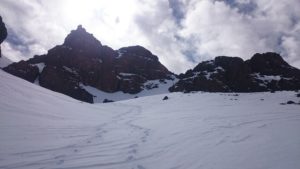
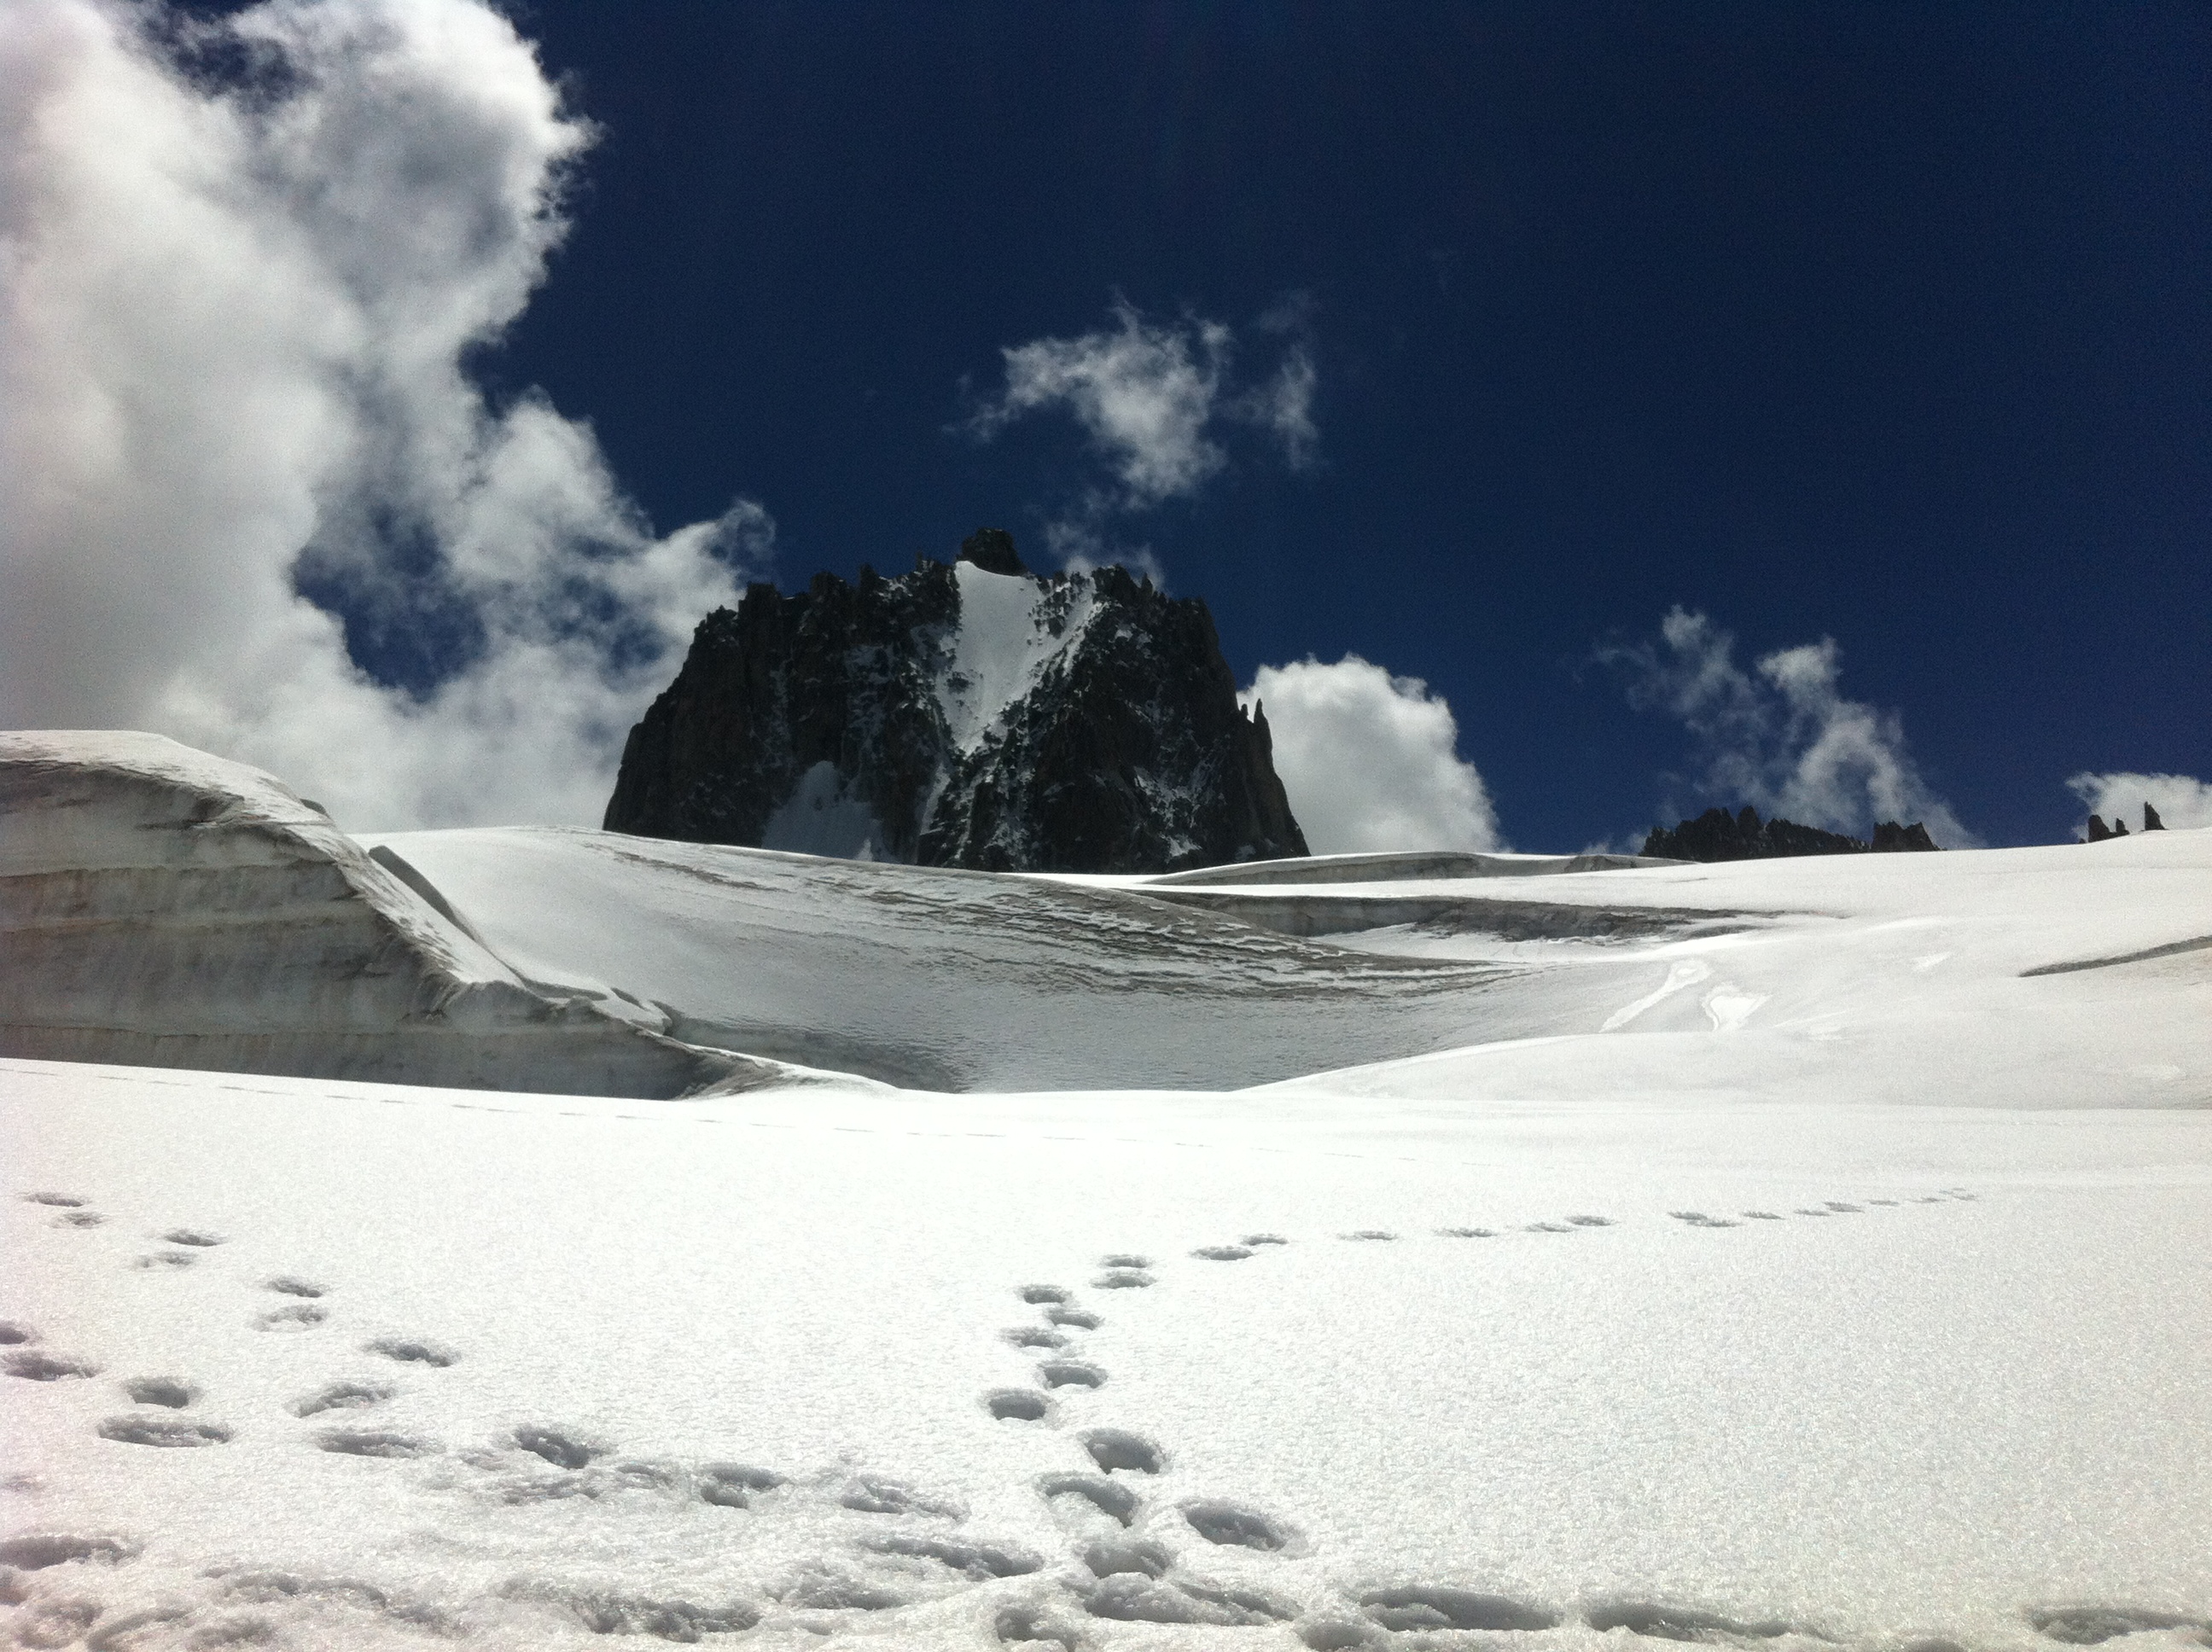
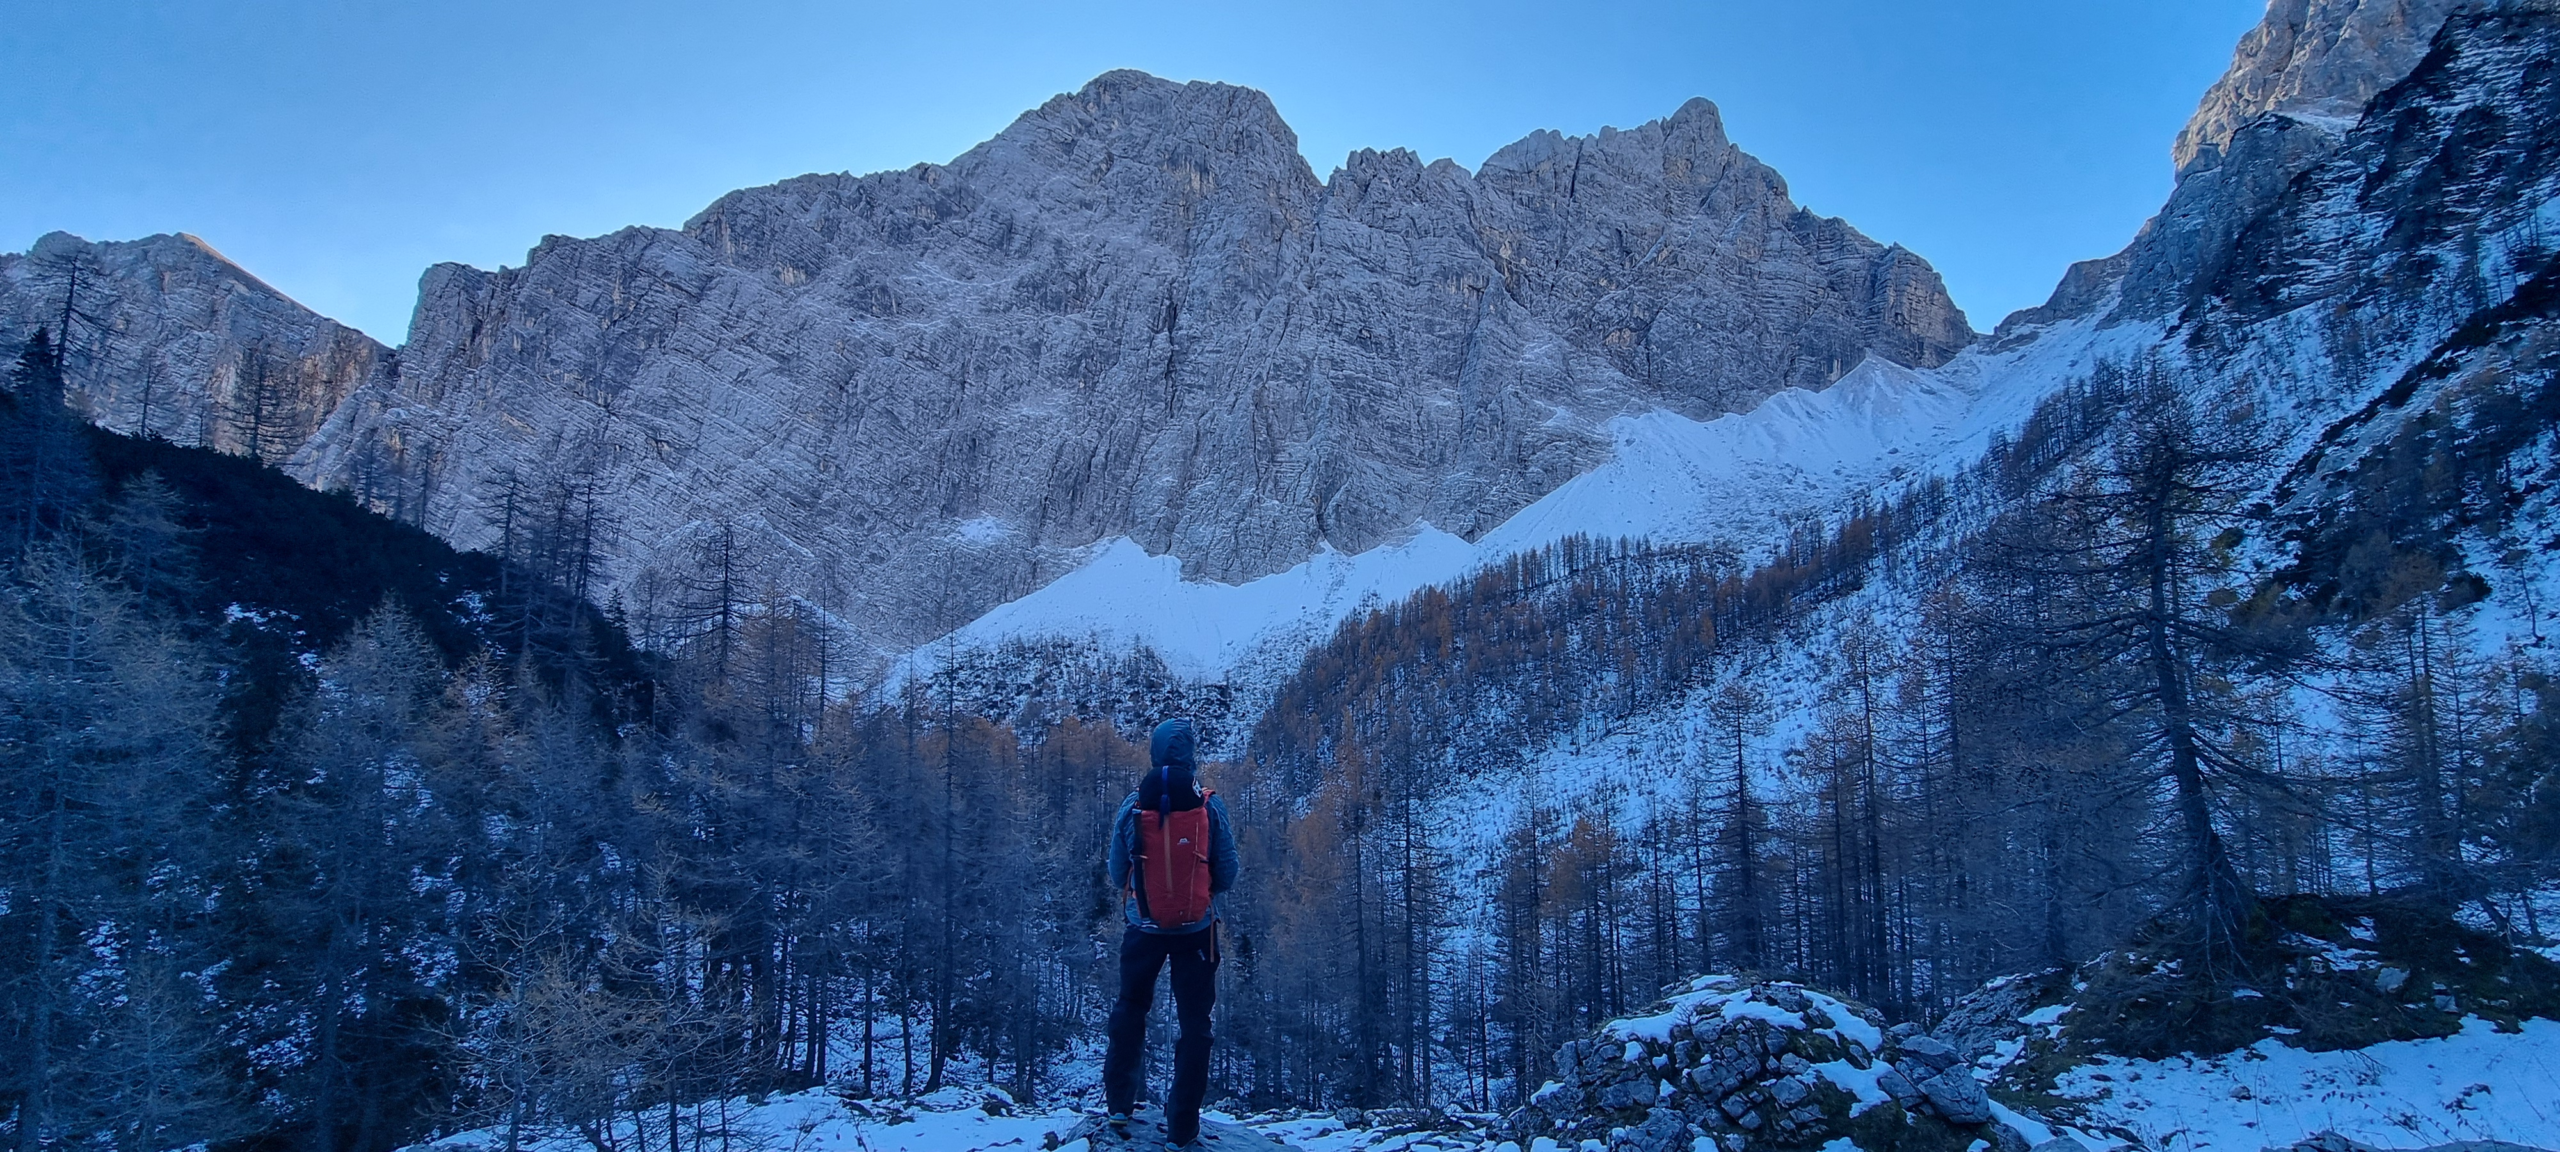
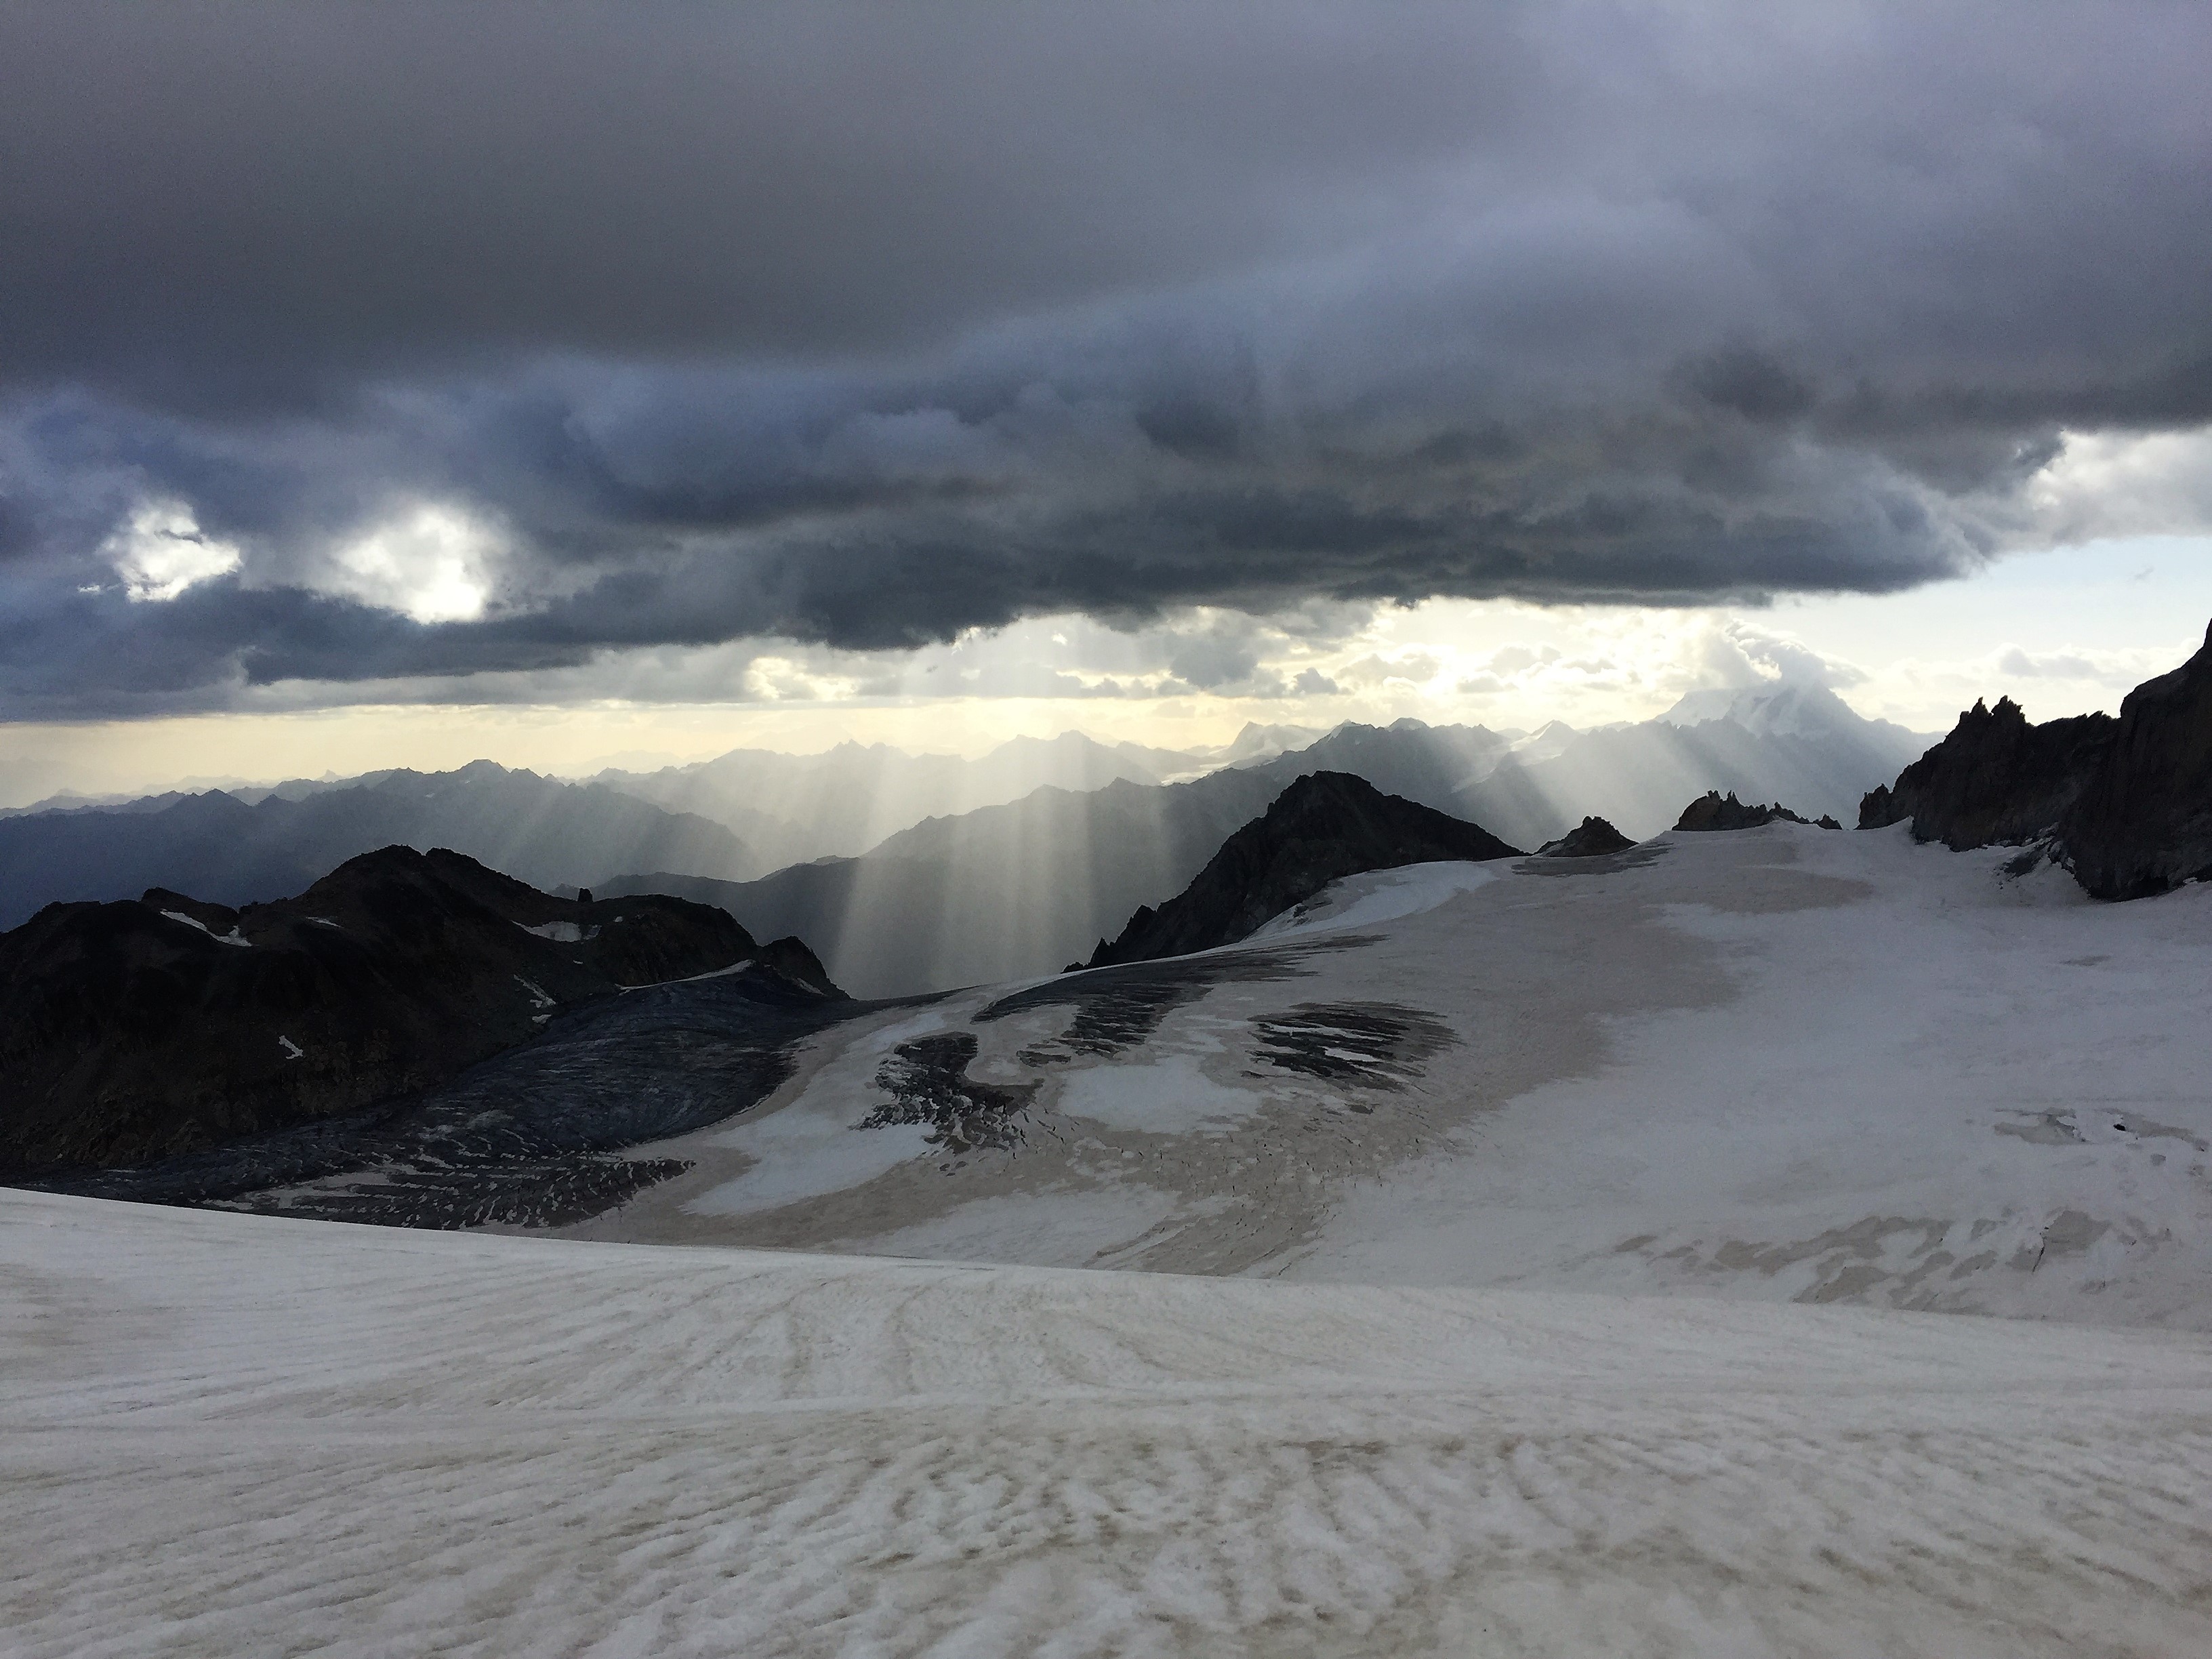
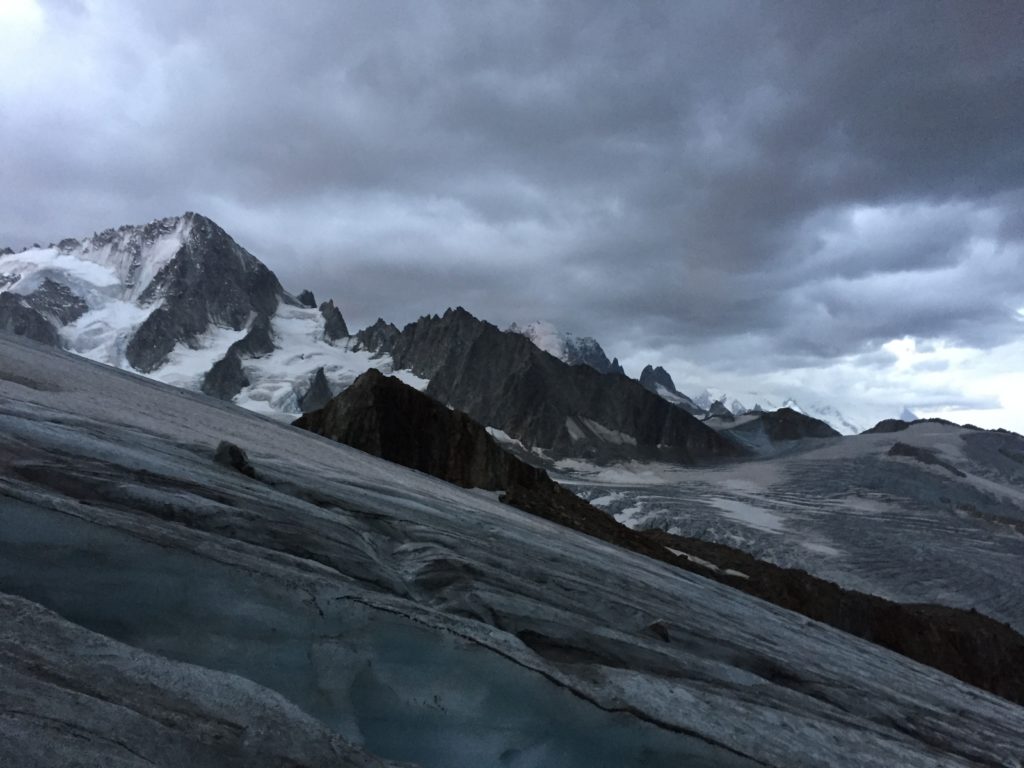
The route passes Koca na Dolicu 2151m, a mountain hut also now closed for winter (severely damaged by avalanche in 2009 and has since been renovated) before traversing across some amazing geologically formed limestone pavements and turning into loose scree slopes, which seem to go on for ever. I’m beginning to think Dave has put a rock in my rucksack, wouldn’t be the first time… We finally reach the continual snowline in the form of an arete flanking the south face of Triglav, this is the final slog towards the hut, the roof of the huge building is just in view now and soon we are greeted by two meteorologists, enjoying the sun trap outside. We sit staring at the north face of Triglav as the sun starts to drop behind the peak, wondering where the route actually goes as it’s not obvious in the snow from our front row seats. Within minutes the light and warmth from the sun disappears, we are instantly hit by the coldness, now where did I put that headtorch.
Summit to see
Before first light, the next morning, we slowly crawl out from under our blankets, it’s noticeably cold, square our kit away and leave the dorm and head down to the outbuilding of the hut to make porridge and coffee with our locally sourced gas. As we light the stove in the dark, we are startled by a shape silhouetted across the bench starting to move. It’s an Austrian mountaineer sat huddled under a pile of blankets, he’s spent the night there and is visibly shivering. We offer him a brew to warm him up, which he gladly accepts. He’s heading the opposite direction to us today, after summiting a bit later last night than planned. Our route to the summit takes us via the steep ridge line of Mali Triglav’s northeast buttress, crampons fitted and ice axe at the ready, we descend from the hut to the start of the ridge.
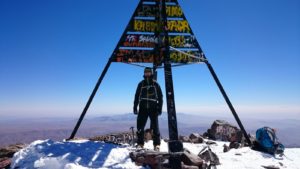
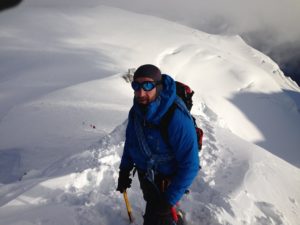
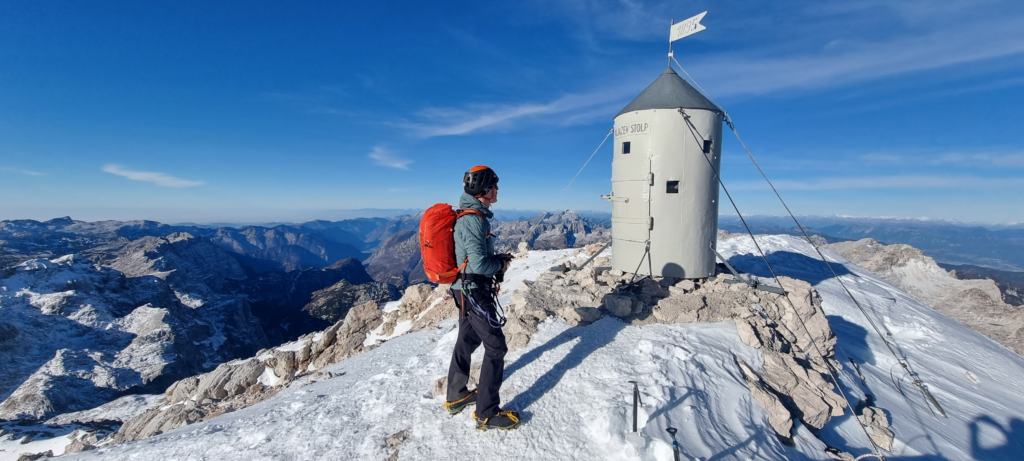
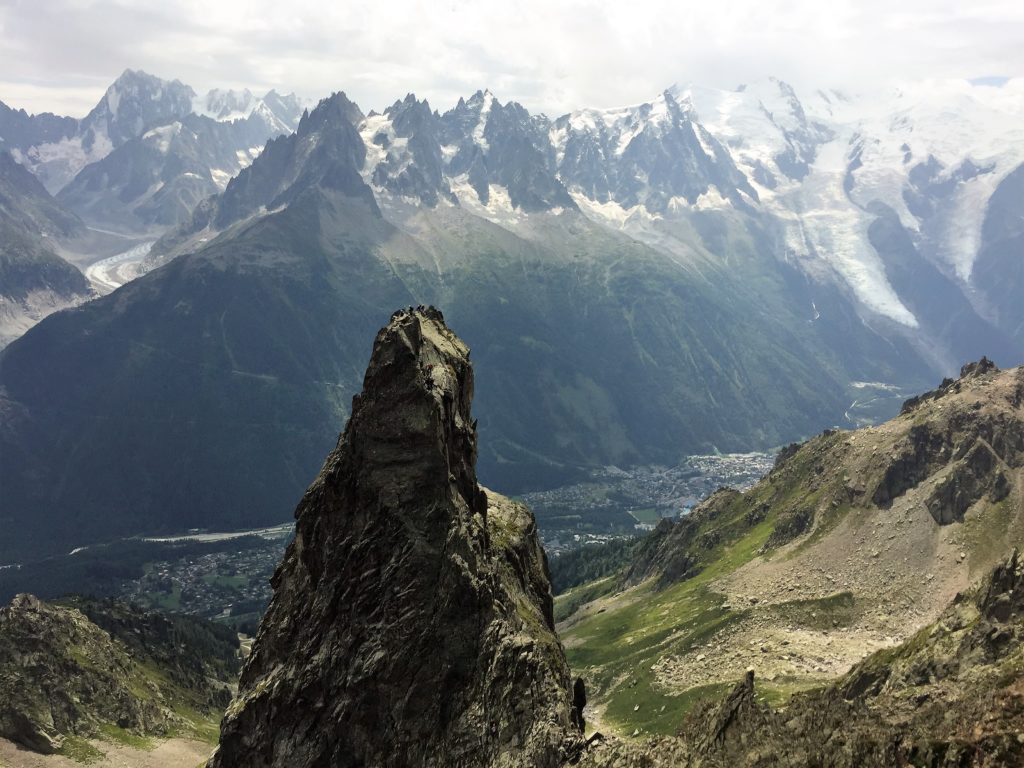
The snow is firm with a hard icy crust following a sharp overnight frost, not a breath of wind. As we start our ascent, we find a mix of steel pegs, pitons and cables secured to the rock, some completely covered by the snow and some visible, we make use of our lanyards to protect any steep, exposed sections as necessary on our ascent. It’s a fab route up to the summit, made more interesting by the snowy conditions underfoot. In a little under two hours we are stood at the summit, identified by the Aljaz Turret. We have the most stunning, panoramic view of the Julian, Kamnik – Savinja Alps and the Dolomites, we have the whole mountain to ourselves this morning, perfect timing or perfect planning, I can’t decide, I’m too busy enjoying the vista.
The descent is a reversal of our ascent; we bump into one other mountaineer approaching from the western side from Dom Planika hut and exchange pleasantries. He now has the mountain to himself. Soon we arrive back at the hut and handover a small good will gesture for our hut comrades, which is reciprocated with something stronger and more potent which we need to down in one, to not offend. It brings instant warmth, followed by a cough, which is met by laughing from our hosts, we shake hands and bid farewell, until next time, we head off south down the icy slope. During our descent we come across some friendly, local mountain jackdaws that are happy to share the last of any snacks we have left, and a family of alpine ibex which stops us in our tracks and watch them pass by, so lucky to get that close. Several hours later and we arrive back at the car, it’s still there, our thoughts change to food and visiting the local Pizzeria Kot for a celebratory dinner in Mojstrana that evening and maybe a cheeky beer or two “na zdravje”.
Via Ferrata with a view
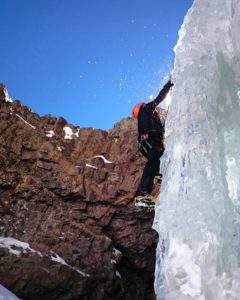
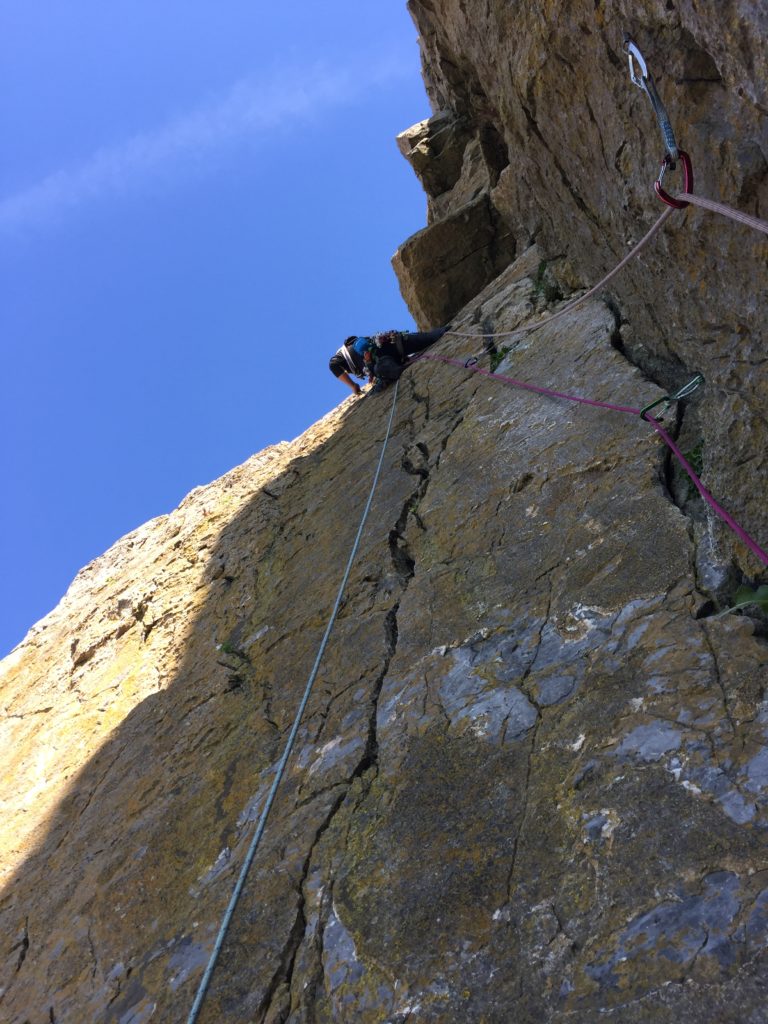
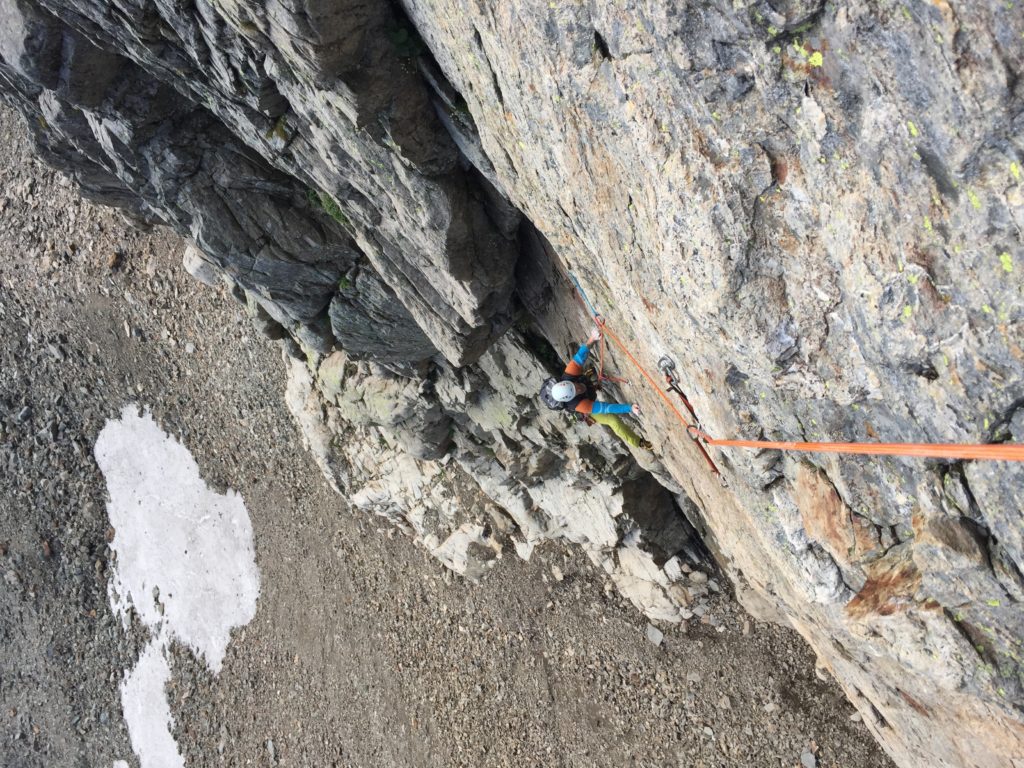
The following morning it’s a slow start before heading back up the valley to Ferata Hvadnik to tackle another route a little further up called Ferrata Jerm’n described online as a Ferrata that will not leave you indifferent, still not sure what that actually means… The start of the route is from the asphalt road in the Gozd Martuljek, leading to Srednji Vrh just before the bridge, which crosses the stream flowing from Jerman Waterfall. It’s graded as **D/E, so we are expecting it to be a bit of a challenge, which it certainly is with the start being straight up a vertical wall with a couple of physical moves to get you warmed up, this leads to the scenic Jerman waterfall. It then crosses a stream via a steel cable suspension bridge giving a great vantage point to view the Martuljek mountain range.
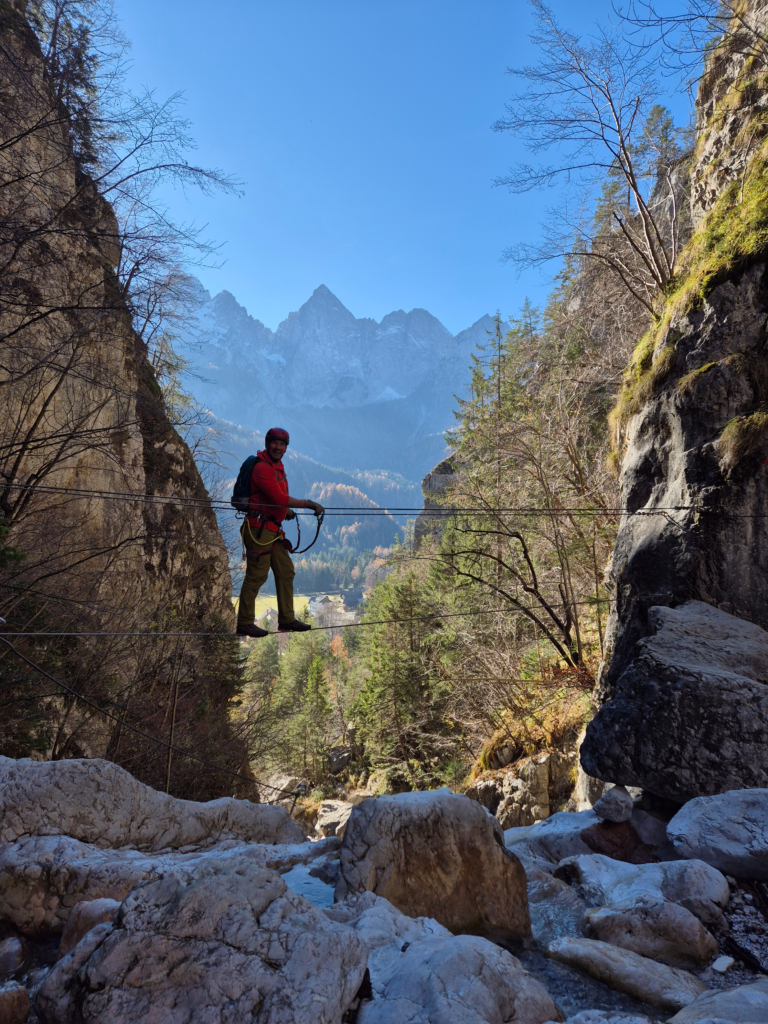
The route continues along the wall on the left side of the waterfall where there is an exposed traverse to the right, the most difficult part of the route and leading into the gorge above the waterfall. Another suspended bridge over the stream follows and the final part of the ferrata, which is a stiff pull up the vertical wall until finishing in the trees again, we sit here in the sun and enjoy the views across the valley for a short time before strolling down through the pine forest to finish. We both agree this was the best route of the week, back at the car we now head to Kranske Gora, a town further up the valley towards the Italian, Slovenia border to grab lunch. It’s not quite ski season here yet, but it’s clear the town is being prepared for the influx of skiers arriving over the coming weeks. We finish our day being tourists and first head to Lake Jasna renowned for its crystal-clear water, it’s bustling with folk out enjoying the scenic park, walking, biking, playing frisbee or having a picnic. Before heading back to our hostel to pack for the morning’s flight home, we take a detour and head up to Planica, the Nordic Ski jumping centre. It’s a major activity hub, open all year round offering accommodation along with ice skating, a zipline, indoor skydiving, disc golf, curling, cross country skiing school including six hundred metre underground skiing track. We’re happy to check out the four ski jumps and watch in amazement at the ski jumpers training, as they take it in turns to head down the steep ramp, take off and fly for what seems like ages before landing smoothly in balance. They are obviously well practiced, we can only imagine what it must feel like to go off the end of that ramp…
Big thanks to Dave for joining me and on this adventure and being chief photographer. Slovenia you’ve been amazing! Somehow, I think we’ll be back in the not-too-distant future.
Further reading and recommended books.
- The Julian Alps of Slovenia, Mountain Walks and Short Treks – Cicerone
- Slovenia’s Juliana Trail, Hiking – Cicerone
- Climbing without Frontiers – Istria – Adriatic Coast, climbing guide, Sidarta
- Map – Wanderkarte 5141 1:35 000, National Park Triglav – Freytag & Berndt
- Klettersteige Julische Alpen Steiner Alpen · Karawanken · Karnischer Hauptkamm by Alois Goller
Internet links – Via Ferrata Slovenia (these are just a few)
- https://www.outdooractive.com/en/via-ferratas/slovenia/via-ferratas-in-slovenia/11428341/
- https://www.bergsteigen.com/touren/klettersteig/
- https://www.explore-share.com/blog/via-ferratas-slovenia-guide-best-routes/
- https://kranjska-gora.si/en
Reference info
- * Electrical Wholesalers that stocks gas for Jet Boil – ENOS, d.d. PE Plinstal, Industrijska ulica 1a, 4270 Jesenica.
- ** Via ferrata grades A-Easy, B – Moderately Dificult, C – Difficult, D – Very Difficult, E – Extremely Difficult, F – >Extremely Difficult
- *** Equipment hire is available from the Alpine Museum, eg helmet, harness and via ferrata set.
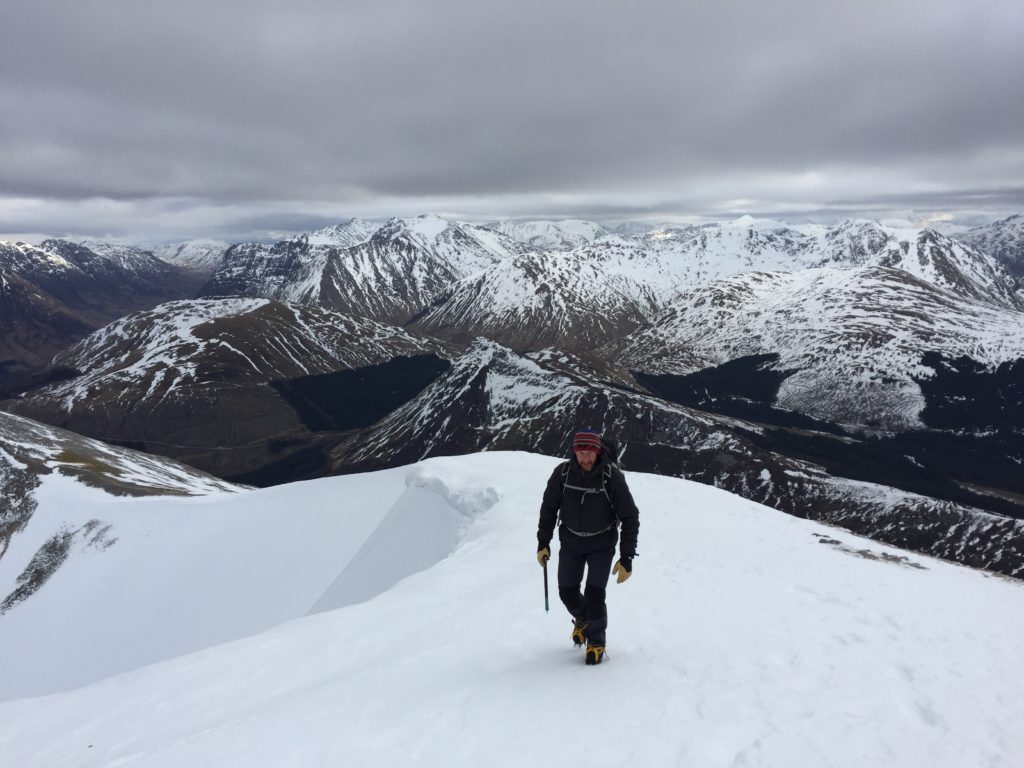


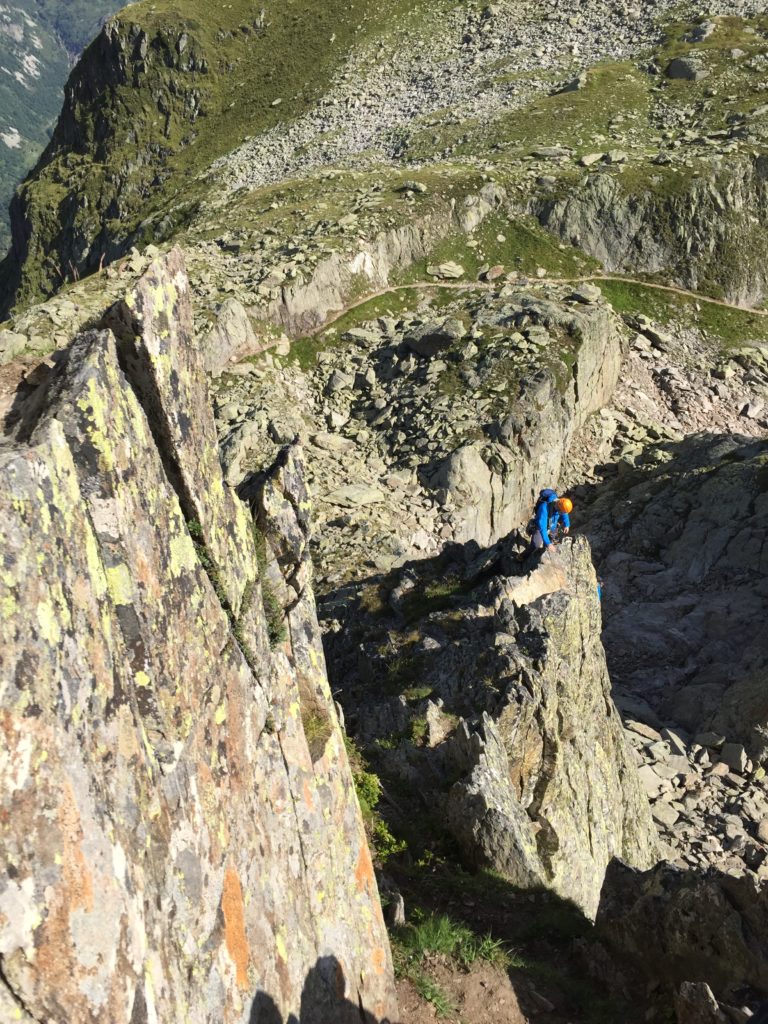
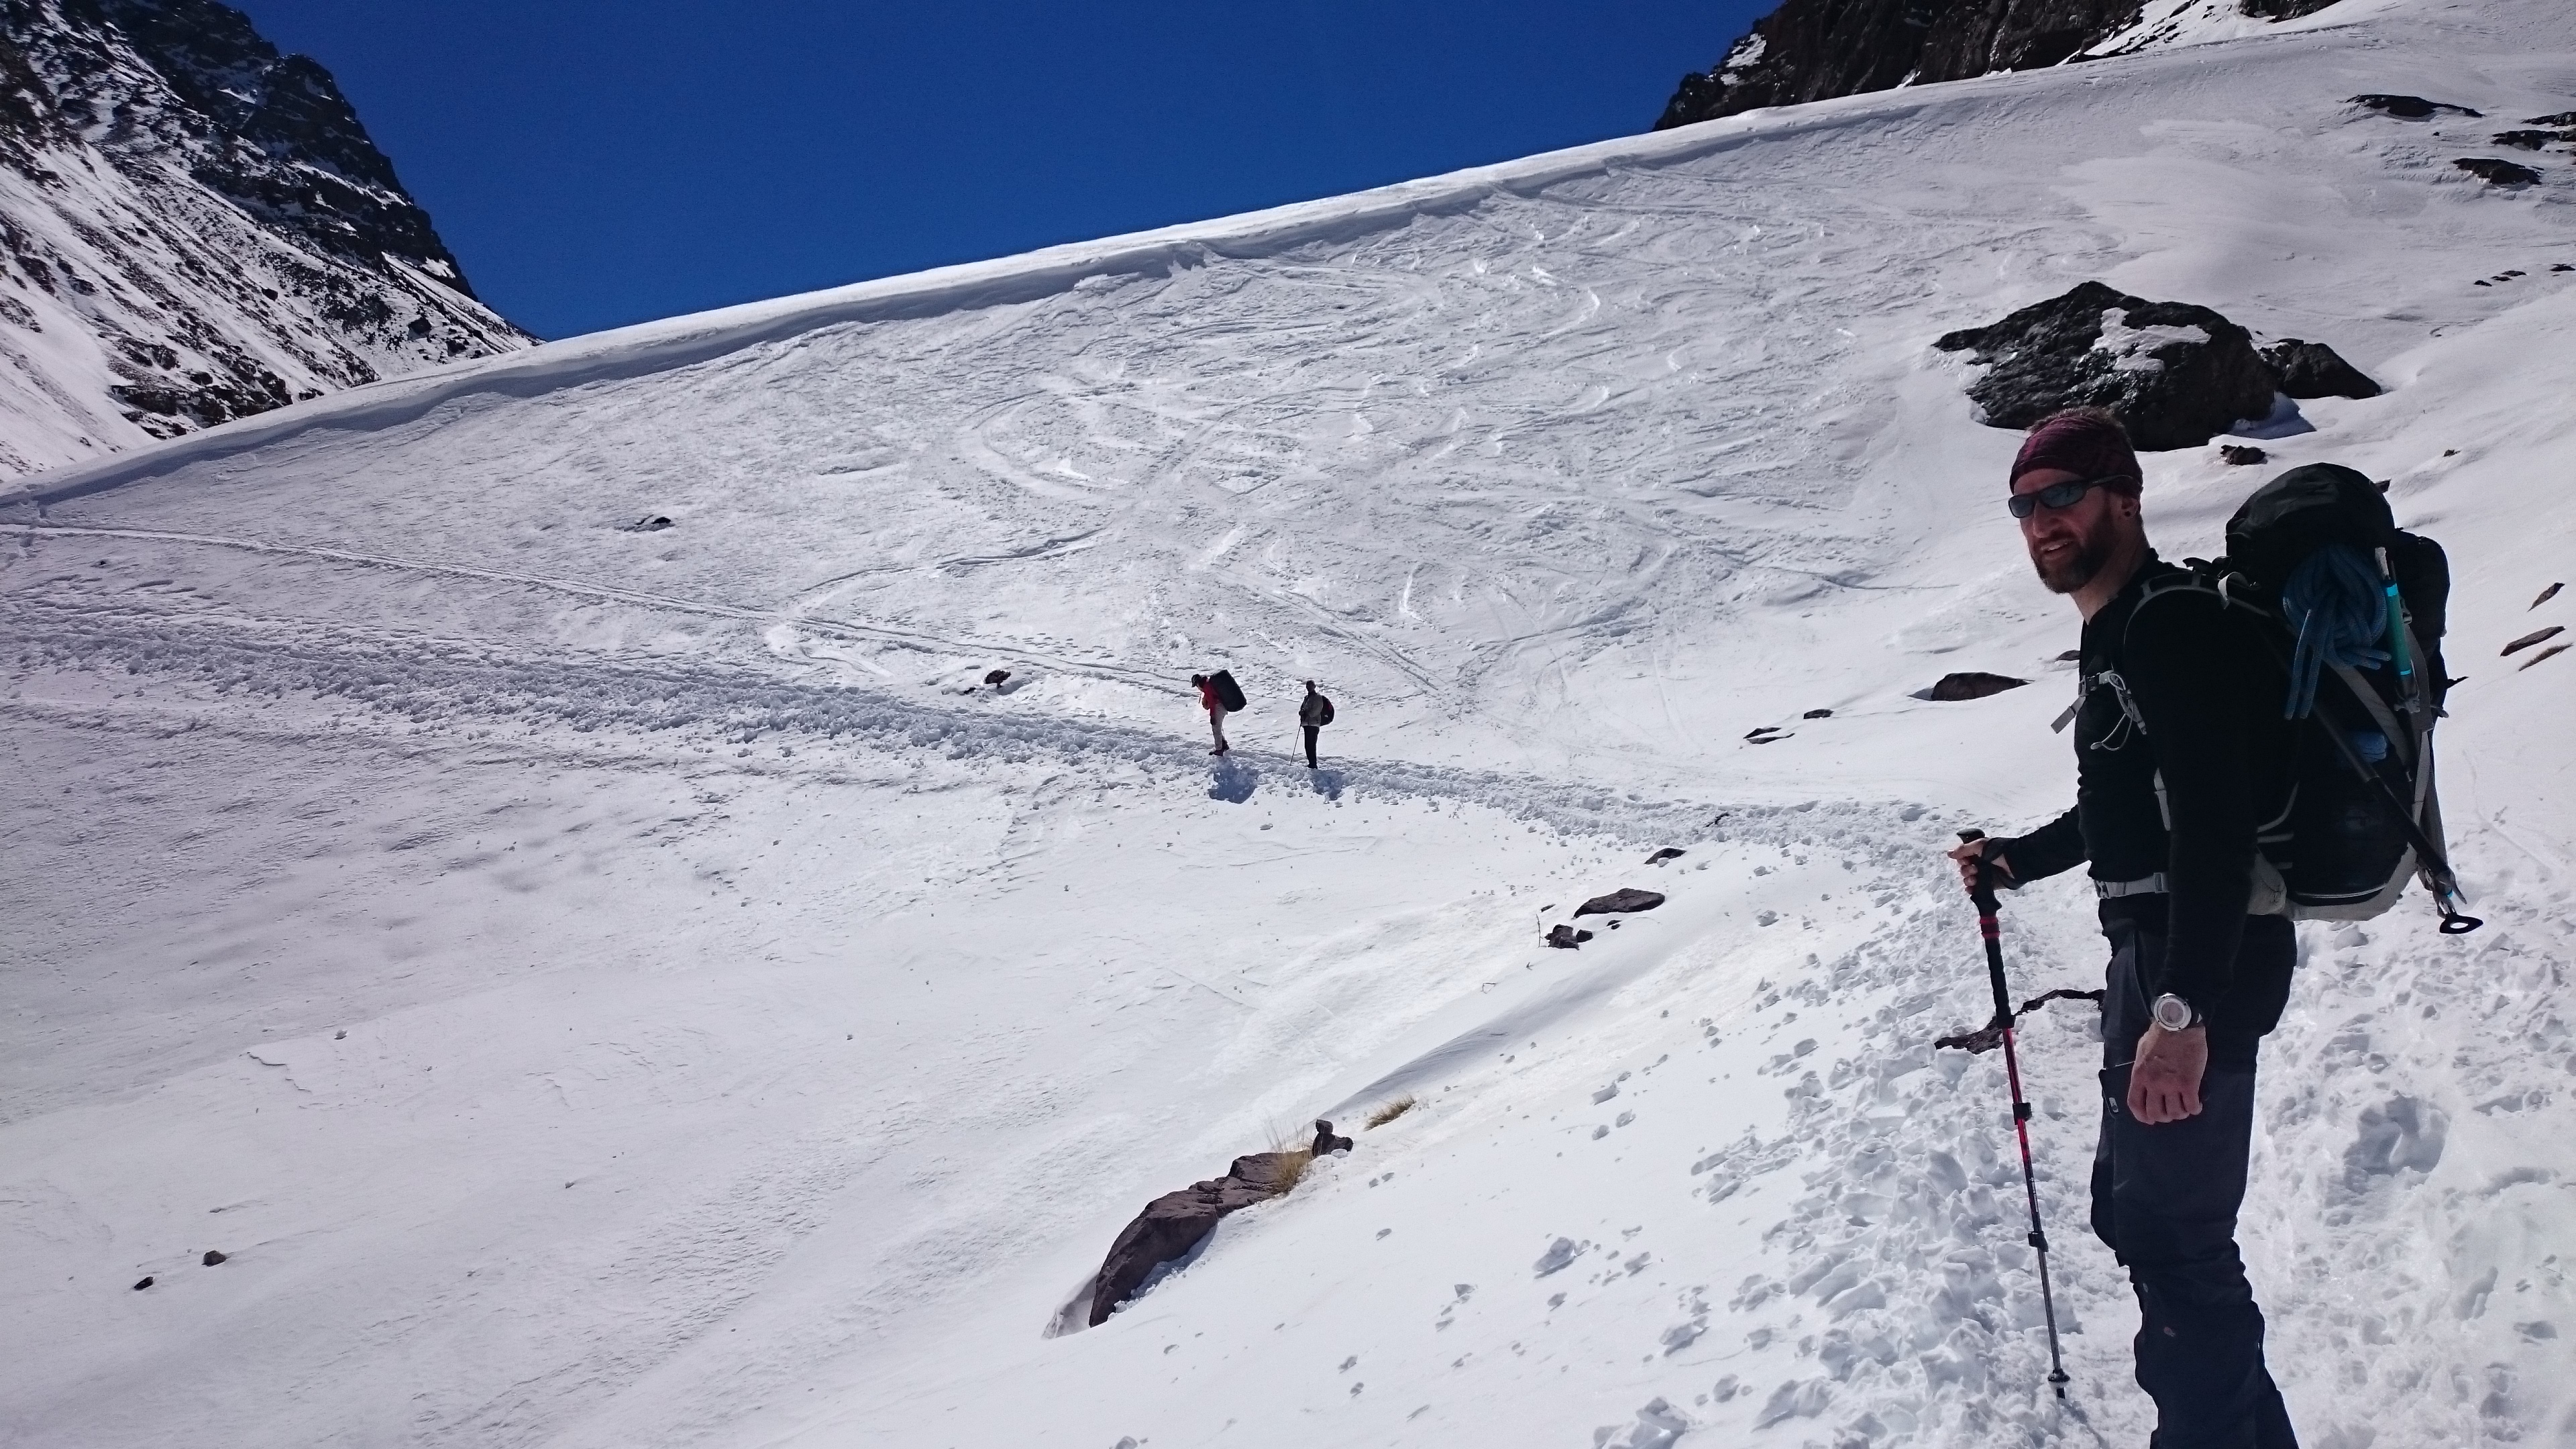
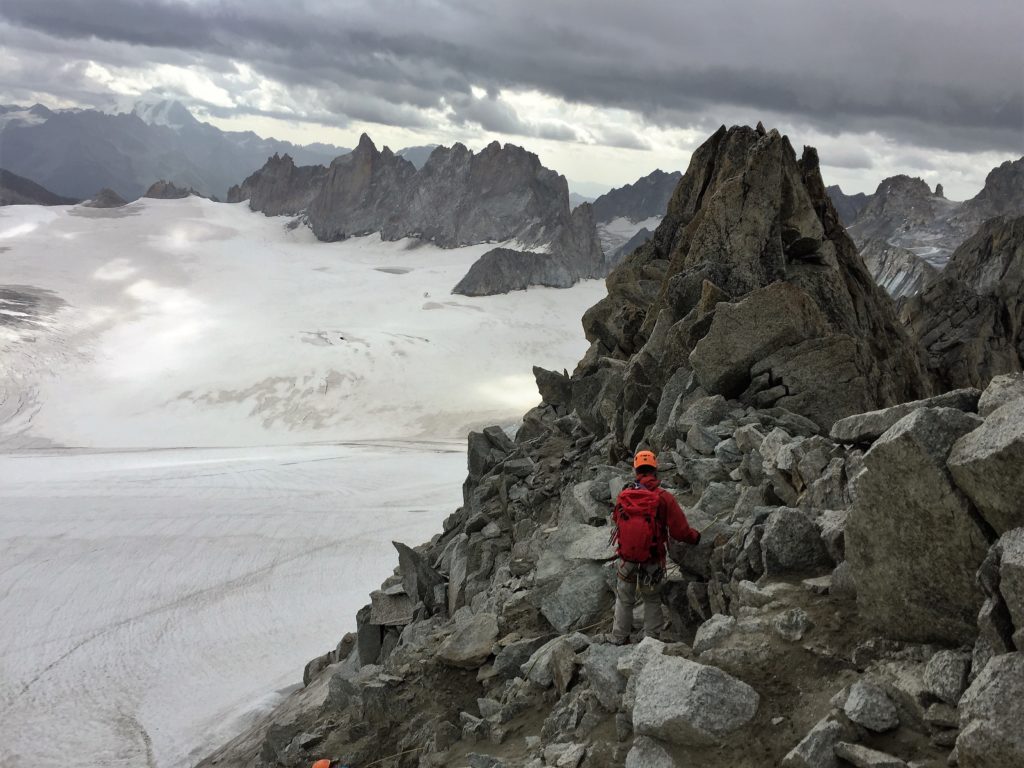 Heading down from the South Summit
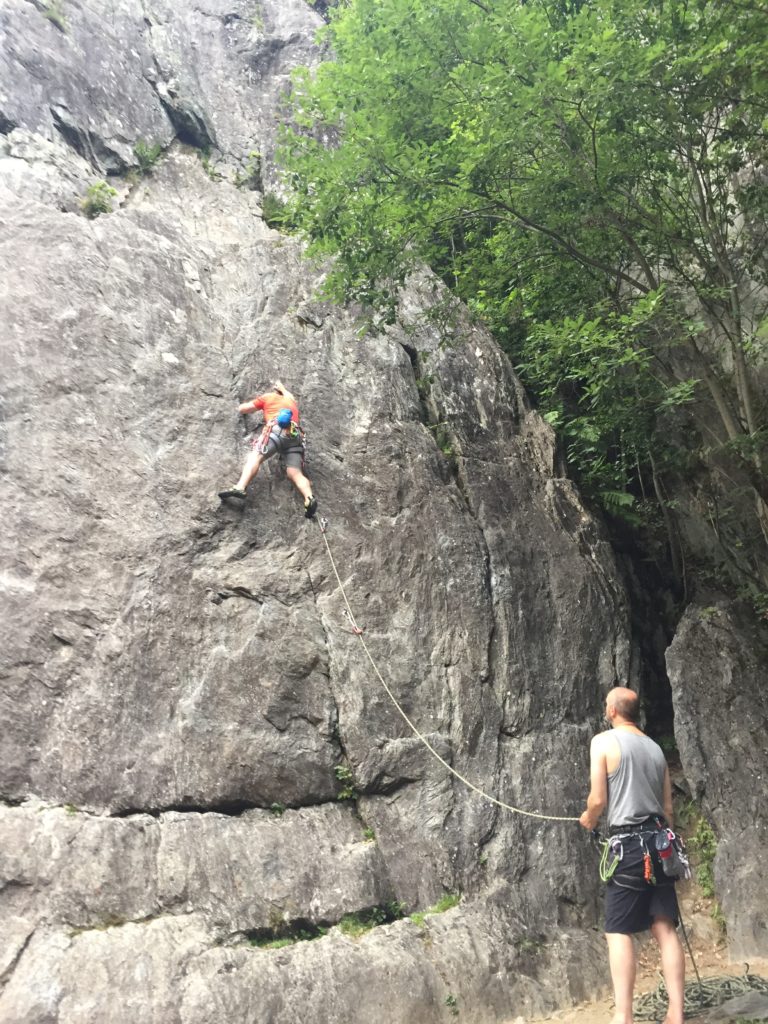

 ad 50 miles south, away from the mayhem to Imlil a